Trash Compactor Installation Services Overview
Visitors can learn about trash compactor installation services and compare local contractors who handle the work.
- - Residential property owners seeking professional trash compactor installation services.
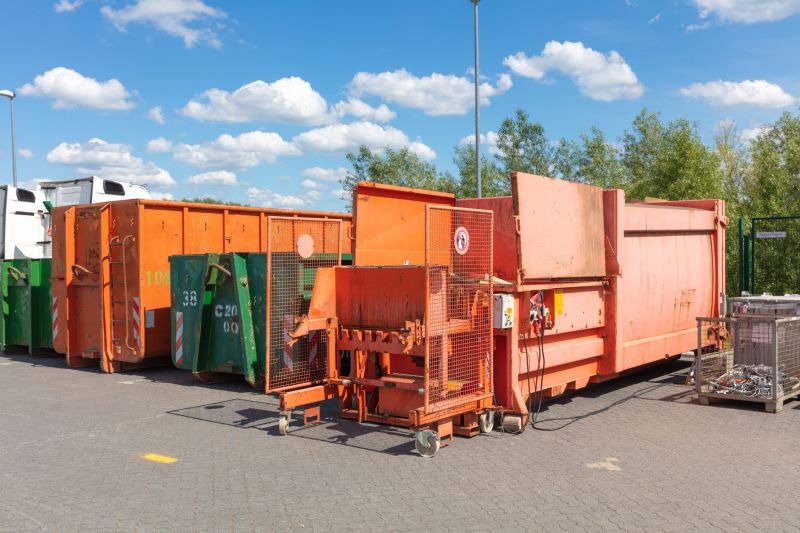
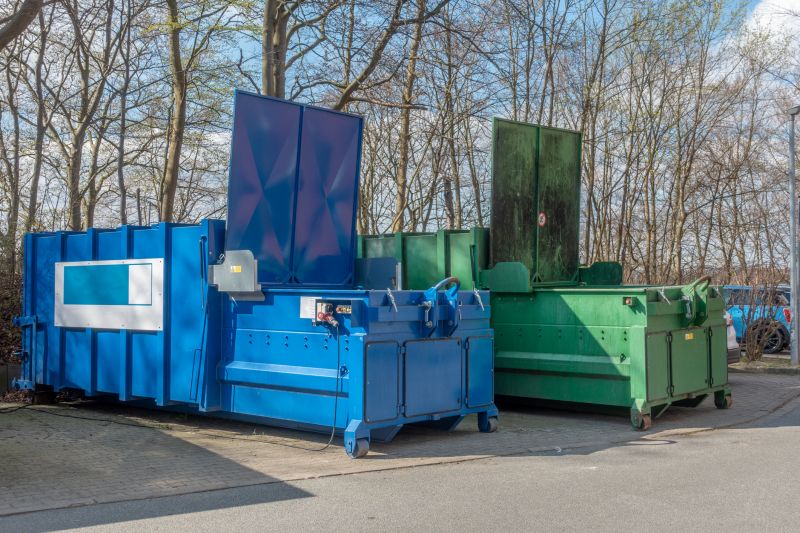
- - Commercial facilities looking to upgrade or add trash compactors for waste management.
- - Property managers and contractors needing connections to local service providers for trash compactor setup.
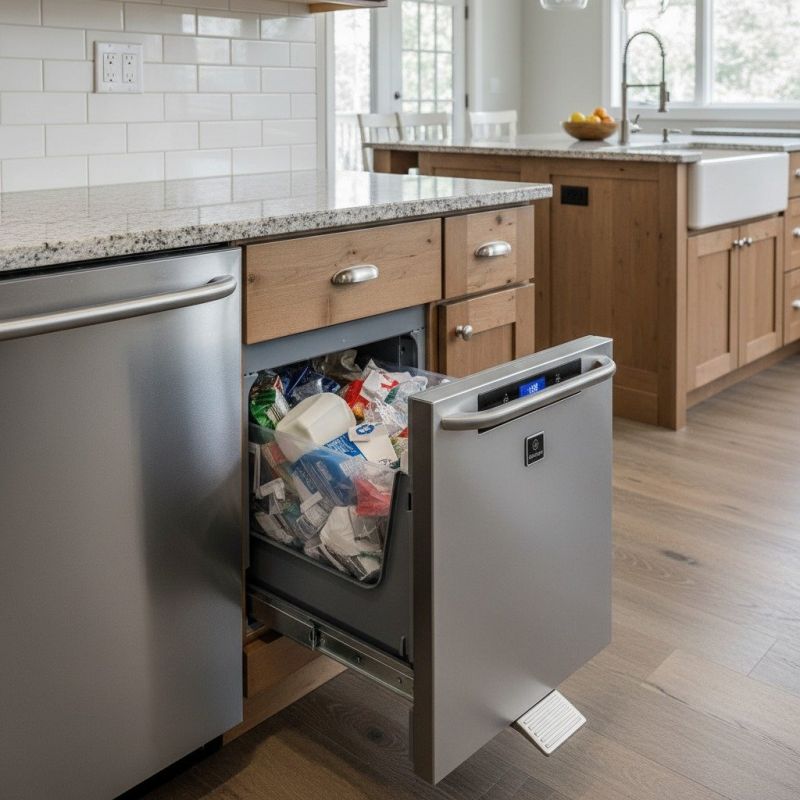
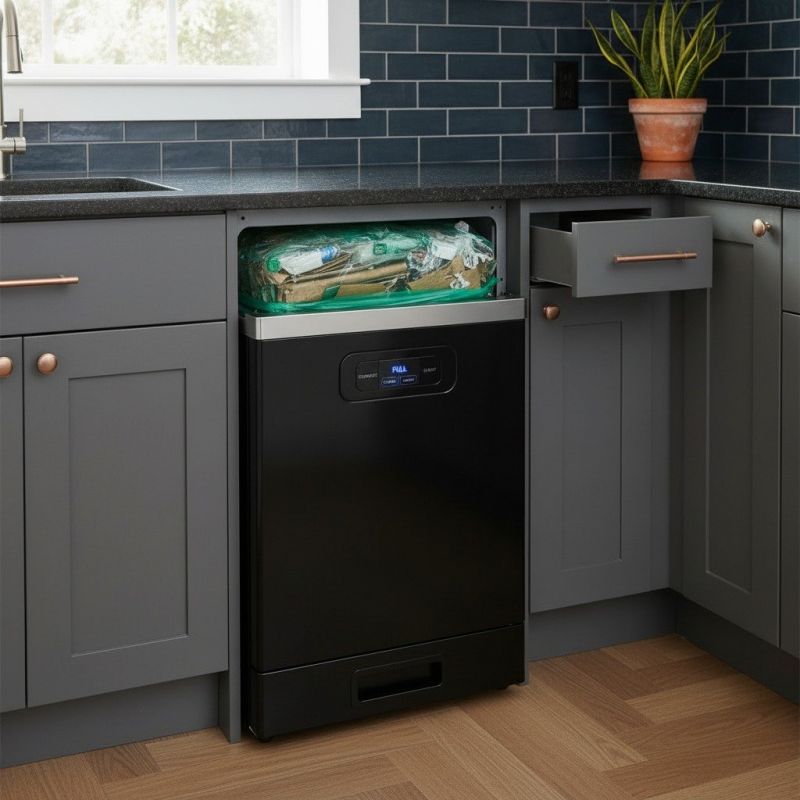
Trash compactor installation services are often sought by property owners looking to improve waste management efficiency in residential or commercial spaces. Local contractors who specialize in appliance installation and home upgrades can assist with the proper setup of trash compactors, ensuring they are correctly positioned and connected to necessary utilities. These professionals understand the typical requirements of different models and can handle the work safely and effectively, helping property owners maintain a clean and functional environment.
When considering trash compactor installation, property owners may encounter various situations such as replacing an old unit, upgrading to a newer model, or installing a compactor for the first time. Local service providers are equipped to evaluate the space, advise on suitable options, and perform the installation process with attention to detail. Connecting with experienced local contractors can provide peace of mind, as they bring practical knowledge and skills to ensure the work is completed correctly and efficiently.
This guide provides helpful information to understand the key aspects of Trash Compactor Installation services. It assists in comparing local contractors and understanding what to consider before beginning a project. The goal is to prepare homeowners with the basics needed to connect with qualified service providers in their area.